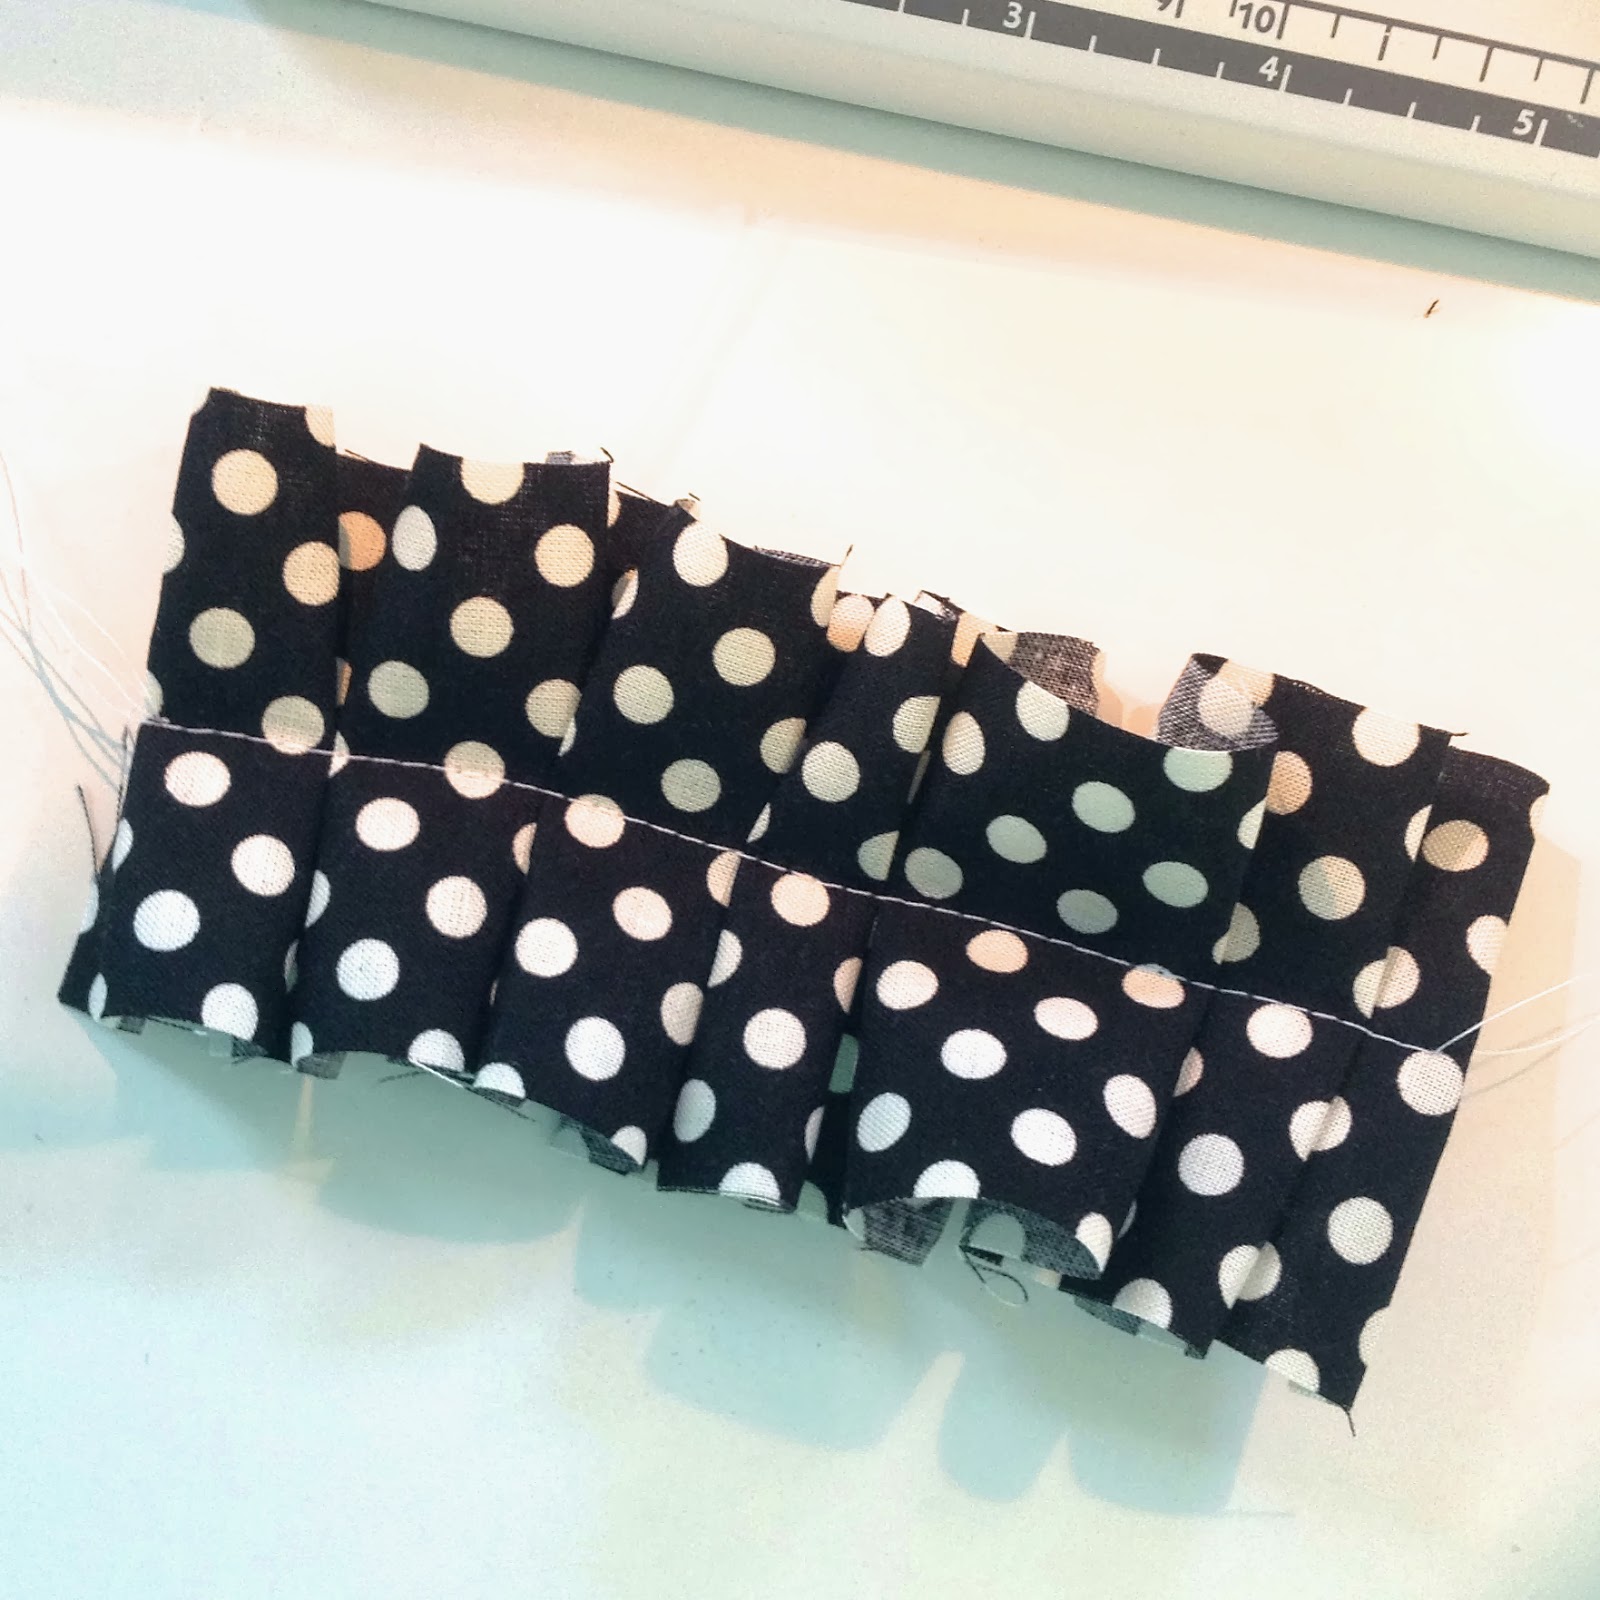
This is all you need! The best part is that there is no exact measurement! You can make them longer or shorter, wider or thinner, fuller or not so ruffly! When I made them for sale I sold two sizes, a three inch mini and a six inch full sized one.
To get started you want a strip of fabric that is about 2 1/2in by 12-18in (again, you can totally alter this sizing to suit your fancy!).
You also need a piece of fabric that is 1/2in thinner and shorter than what you want your final slipcover to be. In this case you would use a 2in by about 3in.
Start by folding the end of your fabric strip under do a lock stitch to get started, then bunch and ruffle your fabric as you go. You can do this any number of ways…I prefer to “pinch” a inch or two of fabric up and then while keeping the sewing machine going kind of tucking it under the needle. (You can google “how to ruffle without a foot” if you want to). Practice a bit and you will get the hang of it!
When you get to the end of your fabric strip tuck the end under, keep stitching to the end and do a lock stitch to hold it all in place. Above is what you end up with! At this point you could choose to add a smaller layer of ruffle in a contrasting fabric, just repeat the steps above but this time sewing on your “base” ruffle. Just make sure your second ruffle is thinner than your first!
Then you are going to make your “slipcover” part. Center your felt piece on your ruffle and sew around the long edges. Don’t seal the felt rectangle. You will want to be able to slip your headband through!
See how the stitching on the ends goes past the end of the felt, across the ruffle and then back down the other side? That’s what you want!
And that is it! You just slip your headband through the felt pocket and you are done! Wouldn’t it be fun to gift a headband wardrobe this way?


